4 Simple Ways to Test Your Laptop Microphone in Minutes
Published: 25 Jan 2025
Did you know that most laptops have built-in microphones that are suitable for regular use? But here’s a problem: not all of them provide the level of clarity required for professional meetings, smooth recordings, and intense gaming sessions. Testing your laptop microphone is the first step to ensuring it works properly and avoiding difficult “Can you hear me?” moments. It helps you to address typical issues such as distortion or low volume before they cause problems. Are you ready to learn how to test laptop microphone to get the best sound quality?
Accessing Your Microphone Settings
To start testing, simply open your laptop’s microphone settings. This can be done easily in the Sound settings for Windows 10 and Windows 11. Here’s how.
For Windows 10:
- 1. Navigate to Settings.
- 2. Then click on System.

- 3. Then select Sound.
- 4. Under the Input section, click on the microphone you want to use.

For Windows 11:
- 1. Open Settings.
- 2. Click on Sound.
- 3. Scroll down to Input Devices.
- 4. Select your microphone from the available options.
1. Test Your Microphone with Built-In Tools
Once you’ve accessed your microphone settings, it’s time to test it. Windows will often allow you to test the microphone within the settings itself.
1. On both Windows 10 and Windows 11, you’ll see a Test your microphone option.
2. Speak into your microphone and watch the input level bar move. If it reacts to your voice, your microphone is working.
2. Record Your Voice for a Better Test
1. Click on the Start Menu button at the bottom-left corner of your screen.
2. Type “Voice Recorder” in the search bar.
3. Click on the Voice Recorder app in the search results to open it.

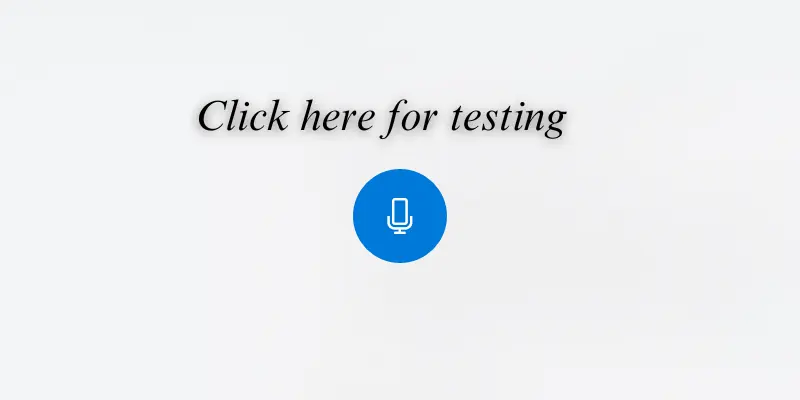
4. Once the app is open, click the microphone icon to start recording.

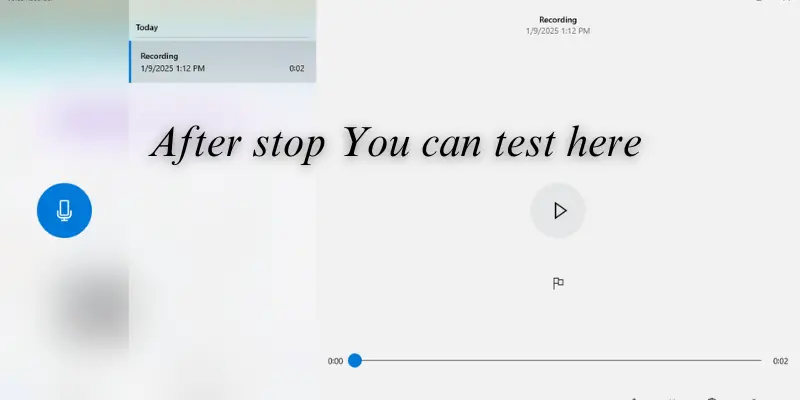
5. Click the stop button when you’re done speaking.
6. Click on the recording to play it back and listen for any distortion or volume issues.

Related Article
3 Simple Methods to Test Your Laptop Webcam
Test Laptop Speaker: Simple Tools and Tips for Perfect Sound
3. Test with an Online Tool
If you want a web-based selection, try using online tools such as OnlineMicTest.com. They allow you to check quickly whether your microphone is working or not.
1. Open your browser and visit an online microphone testing tool.
2. Follow the simple steps to give the website access to your microphone.
3. Speak into your laptop’s microphone and see if the test tool responds to you.
4. Adjust Microphone Settings for Best Performance
If your mic is working but the quality isn’t great, here are a few adjustments you can make:
1. Increase Input Levels: Open the Sound settings and adjust the input volume.
2. Noise-Cancellation: Some microphones come with noise-reduction options. Enable them to reduce background noise during calls or recordings.
How can I test my microphone without installing software?
You can test your microphone using the built-in tools in Windows. Go to Sound settings, select your microphone under Input, and use the “Test your microphone” option. Speak into the mic and watch the input bar for movement—it’s that easy!
How do I reduce background noise while using my laptop mic?
Enable the noise-cancellation feature in your microphone settings. If it’s unavailable, consider using software like Krisp or positioning yourself in a quiet environment to minimize distractions.
How can I improve my microphone performance?
Adjust your mic’s input levels in Sound settings to ensure it picks up your voice properly. Use noise-cancellation options if available and ensure your mic is placed at an optimal distance for clear audio.
How to test microphone Windows 11 and hear yourself?
Open Settings, go to Sound, and find your mic under Input devices. Use the “Test your microphone” feature to check if it’s working. You can also record yourself using the Voice Recorder app and play it back to hear the quality.
Conclusion
Ensuring that your laptop microphone works well is essential for clear communication, quality records, and immersive gaming experiences. By following these simple steps—adjusting settings, using built-in tools, or exploring online microphone testers—you can troubleshoot issues and ensure top-notch sound quality. Don’t let audio issues ruin your plans—test and optimize your microphone now for the best sound quality!

- Be Respectful
- Stay Relevant
- Stay Positive
- True Feedback
- Encourage Discussion
- Avoid Spamming
- No Fake News
- Don't Copy-Paste
- No Personal Attacks


- Be Respectful
- Stay Relevant
- Stay Positive
- True Feedback
- Encourage Discussion
- Avoid Spamming
- No Fake News
- Don't Copy-Paste
- No Personal Attacks


